Tuesday 15 May 2012

The Model Train Room

Moving into our new home in Basel, Switzerland in August 2006 had its advantages:
* I had a dedicated spare room for guests a la "The model Train room"
* We lived next door to a large hardware store the Swiss version of "Bunnings", OBI so I could easily purchase tools, supplies etc and carry them home.

Outside our balcony with OBI in the background
from our lounge room

My aim for my first scenicked layout was to:
  • Begin with something small so the task was not too daunting.
  • To have a large enough radius curves to run the Eureka AD60 Garratt
  • Be able to have enough space to display my buildings, cars and scenery 
The aim of the construction of the baseboard and stand was to make it simple so I decided to have a 2m x 1m baseboard made of plywood top and pine sides and this was to be held up by commercial available steel framing.
I decided on a one metre high frame.


This is the baseboard with part
of it being painted.         


Another view of the baseboard                    

 I completed the baseboard in October & November 2006.


Conclusion and Remarks

Being my first layout I was keen to get something started and high off the ground. I was glad to have achieved this.
However in hindsight my layout had two drawbacks:
For its height it was a little too low and could have been 20-30 cm higher off the ground.
The board was too wide and I found it difficult to reach the far end of the board considering it was not going to a walkaround oval shape layout but a branchline / terminus style layout.


Saturday 28 April 2012

Dreaming of a model railway layout

Since I was about 10 years old I always wanted to have a model railway layout at home. Seeing the huge layout at the Royal Easter Show and seeing the layout in Hobbyco was something inspirational to have a layout at home.

However, nothing eventuated and I only got as far as the oval track on the carpet.

By the time I was in my mid twenties, I got back into model railways with money in hand and to start a layout again. It was the traditional 6" x 4" layout with triple oval track and sidings etc. The plan came out of the Hornby track plan book that I had in my youth.

I only got to the stage of laying the cork and triple oval track as well as reinforcing the pineboard with plywood before my enthusiasm waned.

I was nowhere to near a scenicked layout.

Today that baseboard sits in my mum's garage awaiting its fate.

It wasn't until I left Australia and went to Basel that I was able to build a layout. However, without being ambitious I decided to start something small and managable.

This is the story of this layout, Bilby Beach that began in August 2006 and has been put into storage since December 2011 when returned to Sydney, Australia from Switzerland. I do hope in the future it has a new life and will be displayed again.

Sunday 8 April 2012

Welcome to Bilby Beach

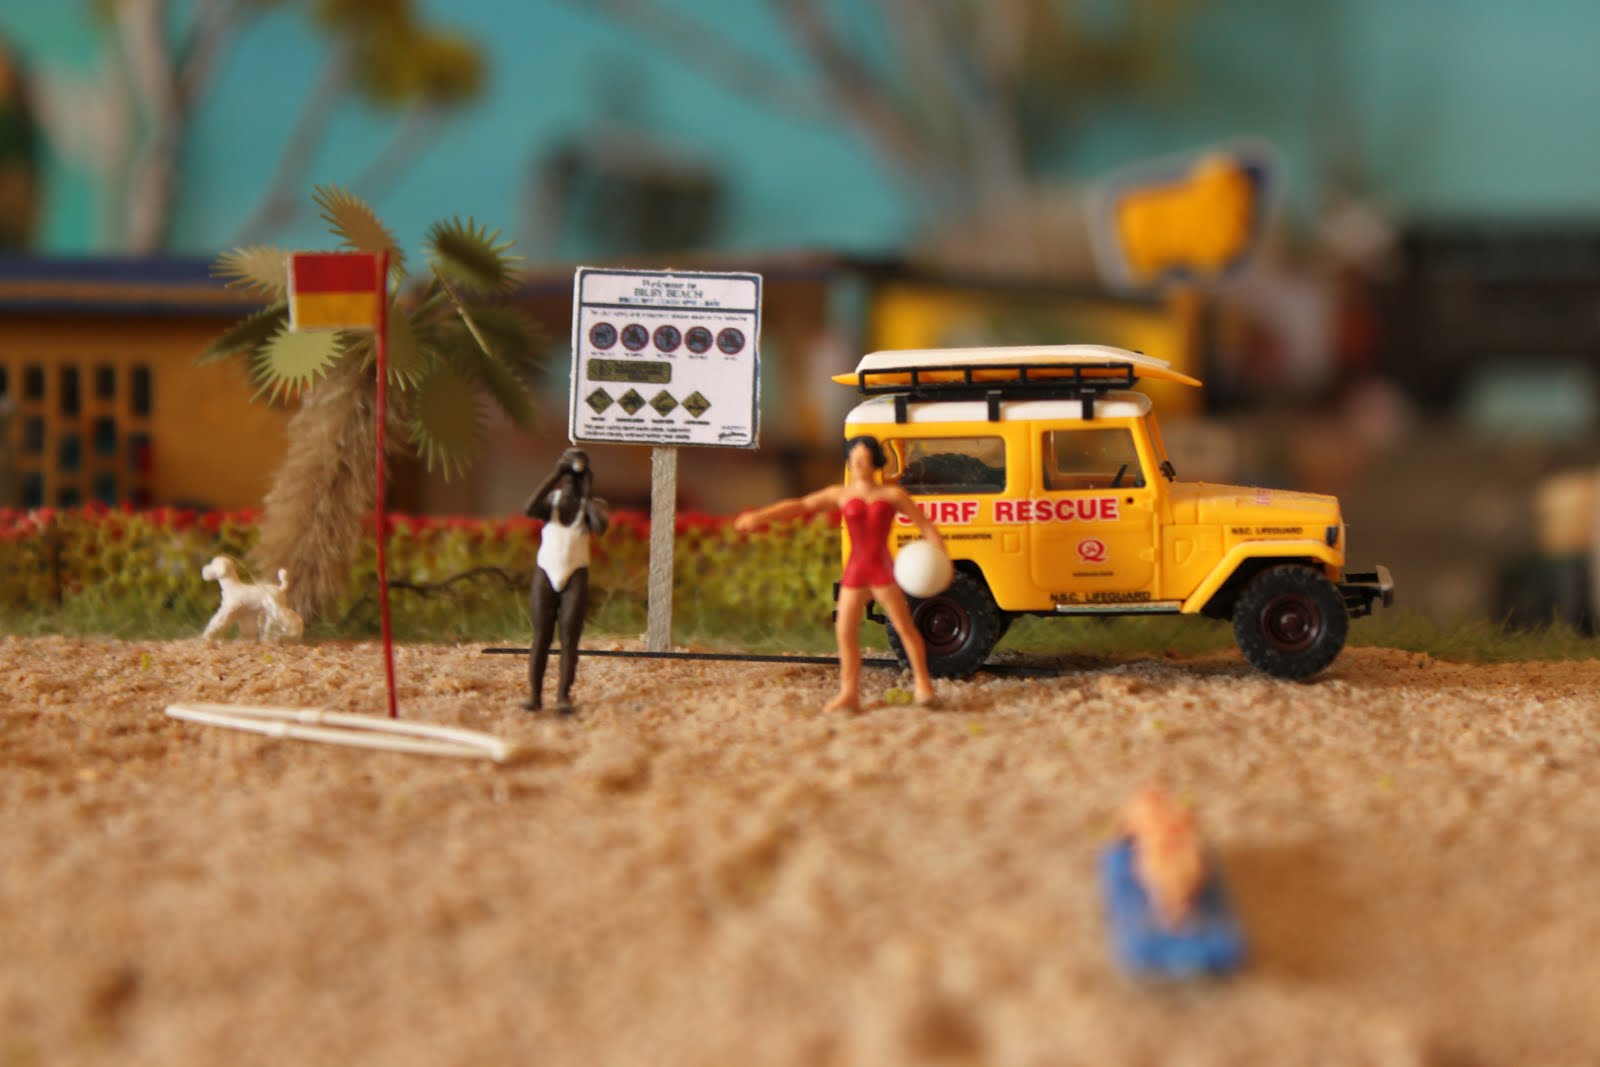
This is my first attempt at building a HO Model railway layout. It is called Bilby Beach (Pop 1,001) . It is based on a fictitious NSW town along the North coast. Between the period of the late 1950s to early 1970s. It has a good surfing beach, a train station, a Drive-in, a caravan park, two petrol stations, the local parish and a pub as well as Dairy farmers milk factory.
It measures 2m x 1m. The layout began in August 2006 in Basel Switzerland however work more or less halted since the arrive of Gen and Lukas. 


The layout is now in semi-retirement as the buildings, people and scenery were dismantled so the layout could be transported to Australia. It currently sits in my mum's garage awaiting to be displayed again.

This is the blog detailing the story of how it evolved, although I am blogging retrospectively 

 Welcome to Bilby Beach. Drive Safely and enjoy your stay.